Showing posts with label diy. Show all posts

Sunday, July 12, 2015

Art Display

We love art!  We frequently paint, write, draw, color, and adhere stickers during play time.

Very quickly I've run out of places to display projects, at least in a manner that I could enjoy. (Long term selection and storage is an entirely different story!)  Our refrigerator is not magnetic, so our playroom cabinets and art easel have housed most of our favorite pieces.


I like the clips better than the cabinets, which required tape and often the very difficult task of tape removal.  I've been playing around with several ideas for art display: a large cork board (don't love the idea of that many tacks floating around our play room), a large magnetic board (the size I wanted would likely be too heavy to be easy to safely hang), frames (beautiful, too hard to change and a bit too formal for what I wanted, not to mention dealing with the irregular sizes of preschool art).

Finally, at a girlfriends house, I found the perfect idea.  She had purchased a display for Christmas Cards and eventually re-purposed it for art.  I decided I could make one for myself that fit my space perfectly!


It seemed like it would be super easy, and for the most part it was!  Best of all, the supplies cost almost nothing.


SUPPLIES
Two 3/4" x 3' wooden sticks

Step 1: Measure for holes.  I decided to put my strings at 5", I left 3" on each side for mounting. 

Step 2: Drill Holes.  The only tricky part here was making the holes the right size.  I didn't want them too big, but I did need to be able to shove the twine through.  I tried several different bits and settled on 9/64".  I also drilled a hole in the opposite direction on both end for mounting.  After drilling, I sanded the holes and the entire rods to make them a little smoother and take off any rough edges.


Step 3: Paint or Stain Wood: I tried several different stains, but I wasn't happy with the results.  In the end, I slapped a quick coat of white paint on.  I was hoping for a slightly more rustic look, but the paint came out fine.

Step 4: Thread the Twine: I really wanted this to be a one day project, but I had to wait for my paint to dry, so the next day I threaded the twine.  Even with the bigger holes, it was still a little tricky.  I ended up using a small drill bit to help push it through.


I tied small bows and knotted them on one side and then fed the twine through the other side.   Because I wasn't sure how big I wanted it, I left the other side untied.


Step 5: Hanging: I originally wanted to use a french cleat to hang them, but in the end decided to just nail them.  I taped them up first so I could decide how far apart to place the poles.


I didn't tie the other side until after I had attached the poles.  I knotted them, but left a little slack in case I decide to tighten the twine.


Then it was time to display our art!


If you don't want to get as much sag, I think you could tie them before hanging, although you'd have to be very careful to mark your strings or you could hang them closer together.

Overall, I'm very happy with the project and I think it will be a great place to hang our arts, cards, and pictures!


Monday, June 22, 2015

DIY Concrete Stepping Stones

I <3 concrete.  While I'm around concrete pours at work, I don't think I've mixed concrete myself since concrete lab in college.  That obviously needed to change.


After our recent yard remodel, we were actually left with MORE projects to do in the yard. One of them is the side yard.  I don't have a long term plan, but I was thinking it would be nice to have stepping stones through the area.  One thing lead to another and soon I was plotting out a Father's Day craft for the kids.
Supplies: (Links are just examples, I didn't buy any of this online, but in case you need a visual of what to look for!)


8" pot protectors: I bought mine at the 99 cent store.  I bought two different styles: the Clear ones seemed a little thin to me (they were 4/$1.00, the colored ones were 2/$1.00 and thicker) so I doubled them up.  I think they would have been fine, although I'm not sure they would have been sturdy enough to move while the conrete was wet.  I used 8".  Obviously you could use any size you wanted, but I thought 8" allowed enough room to be creative without getting overly heavy or requiring too much 'stuff' for decorating.

Pam or Vasaline to line pot protectors.  I tried both, both workd fine.  Pam was faster and easier.

Concrete:  Obviously a very important ingredient!  I bought a 60 lbs bag of quikrete (yellow bag) from Home Depot for about 5 bucks.  I wish they had 10 lbs bags (like the one I posted) because 60 lbs of concrete is, well, 60 lbs and it was kind of a monster to lift.  the concrete had a decent amount of small aggregate, and if I do the project again I may try a different mix, but the results were about the same when I sifted out some of the aggregate and when I left it in.  My 60 lbs bag made 13 8" stones.

Trowel: I'm not sure this is absolutely necessary, but I couldn't think of an easy and effective way to smooth out the surface of the concete without one. Besides, now I own a trowel.

Decorations:  Whatever you want to decorate your stone with.  I really liked the idea of using glass beads.  We also used seashells, sea glass, sand and glitter.

I generally like to try things myself before attempting it with my kids, so I did a trial run first with my awesome co-crafter.  I was pretty sure it was going to be a huge failure.  I didn't think I got the consistency of the concrete right, it felt too dry when I added it, too soupy when I finished it, but we pushed ahead.  I was pleasantly surprised when the results were pretty good!  I had originally thought about doing hand prints in the stones, but I decided it was going to be a bit too hectic to try to get the timing exactly right so opted to decorate instead.

I decided I already had the supplies and the clean up would be about the same for my kids or a bunch of kids, so I invited over some kids from the neighborhood to make them with us as well.

I used an old kitty litter bucket to mix the concrete.  One hint that really helped me was adding a bit of water first then adding the concrete mix.  I also put the lid back on and shock the bucket around some to mix things up (easier than using the shovel!)

I sprayed the the liners with pam and shoveled in some concrete in.  I shock the liners a bit to release airbubles and tapped them on the ground a few times.  I could see the bottom when using the clear tray so I knew when I had most of the air out, but since it was the bottom and I had a mob of ready to go kids, I didn't spend too much time vibrating the concrete.  Finally, smoothed the top with the trowel and it was time for the kids to get to work!


Completed creations!


Regarding decorating, the flat bottomed beads stayed way better than round beads.  I decided to use the sand to give the concrete surface a bit of texture.  (Fun fact, sand is an ingredient of concrete and will mix in with the concrete, not a good place to do intriciate sand designs in other words).  If you look at the completed stones we have a few that we didn't use sand with, it really depends on which style you like better. I poured a ton of extra on top and just brushed it off when they were set.  I expect if you seal them, some of the sand will stay put, but otherwise, I'd expect most of it to wear off over time.  

A few other thougths if you are considering this activity.

It's a good idea to have a bucket of clean water for the kids to wash their hands immediately when they are done.  Concrete isn't good for skin.  Also, avoid breathing concrete dust!

I put down a bunch of cheap table cloths down and it made clean up much easier.

I considered sealing them with concrete sealant.  I suspect that would help them last a bit longer, but I didn't get around to it and I wanted to get them in the yard.

Overall, this was an awesome project.  Even the very little kids did pretty well (the youngest who participated was just under 2) and I think it will be even more fun when the kids are a bit older.  Maybe I'll make it an annual project!

Thursday, April 9, 2015

One Room Challenge: Week 2

I decided to tackle the boys bathroom as part of the One Room Challenge.


This week, my original rough goals were to finalize my plan and schedule, and choose colors, paint and theme.  You can see what others are doing here.

At the beginning of the week, I finalized my project schedule and and Goals and created a To-Do list
  1. Choose Theme
  2. Choose Colors
  3. Match/ Choose Trim paint
  4. Buy Paint
  5. Finalize Project List
  6. Outline Project Task Lists

Theme:
When I chose the boy's bathroom, I already had one very small detail chosen.  I'd picked up a cute wall decal at the store a while ago that I wanted to hang in the room.  I liked the colors and it complimented both boys rooms.  I thought the phrase was adorable.

What more could a mother of boys wish for??
What else could a mother of boys wish for??

I decided I'd roughly base my plan on these colors.  I took a last minute trip to Target to pick up Easter baskets (that bunny is a slacker).  While I was there, I wandered through the kids bathroom department and feel in love with a curtain.  It didn't match my colors exactly, but I decided to give it a try.  My wall color will be neutral, and finding a new curtain won't be a major setback if I dislike it later.  So, for now, chevrons ins blues, greens, grey, and some highlight colors it is!


Color:

We've been trying to decide on paint colors for lots of spaces in our home.  I love the cool greys, but my whole house is warm browns, so it's challenging.  I decided to pick up a sample of a paint we still have up for debate in our bedroom: Revere Pewter.  This room might be a good chance to explore the color before making a bigger commitment!  I also decided I'm going to try some matte/gloss stripes, so I spent some time this week experimenting with that.  Not sure I'm brave enough to do stripes and chevrons, although I saw some great examples of it.


Paint:

I didn't buy trim paint yet, but I intend to paint next week, so it's on the list!

Finalize/Outline Project Task Lists:

I did finalize my project list as well as creating a list of sub tasks for each.  I won't bore you with the details (yet)
  • Make Bathroom accessible and easy to use for the boys
  • Paint
  • Frame Mirror
  • Finish Stools
  • Create Canvas
  • Organize/kid proof bathroom cabinets
As a bonus, I got ahead!  I had purchased a few towels at Target and instead of outlining one of my projects, I decided to jump right in with it!


I'm exciting about how they came out and it was nice to jump in and actually finish something in the middle of doing mostly planning.  

Wednesday, April 8, 2015

DIY hooded towel: Snuggly Towels for Snuggly Babies

There's nothing better than adorable babies after a bath. I thought it would be fun and sweet to make them new hooded towels since they are getting a bit bit for the baby ones.  One of my mom's friends gave her a homemade hooded towel, so I decided to see if I could figure out how she did it.


The problem is, I don't have the towel (it lives at Grandma's house).  So it became a slightly involved process to figure out how to make the towel come out like I intended.  

I decided to try a contrasting towel for the hood.  After making the towels, I'm undecided if I'd do a contrasting color again or not, as it draws a bit more attention to the seams and part of the towel body ends up acting as part of the hood on bigger kids.  (Okay, I don't have bigger kids, so what I really mean is me!)

Each hooded towels needs one full size bath towel and half of a hand towel.  I chose a contrasting towel that I could use for both boys.  No waste!


I washed and ironed the towels.  It was the first time in my life I've ever ironed a towel, but I'm glad I did.  The seams on the edge of the towel smoothed out nicely and made sewing the seams much easier.

I measured and cut the hand towel in half.
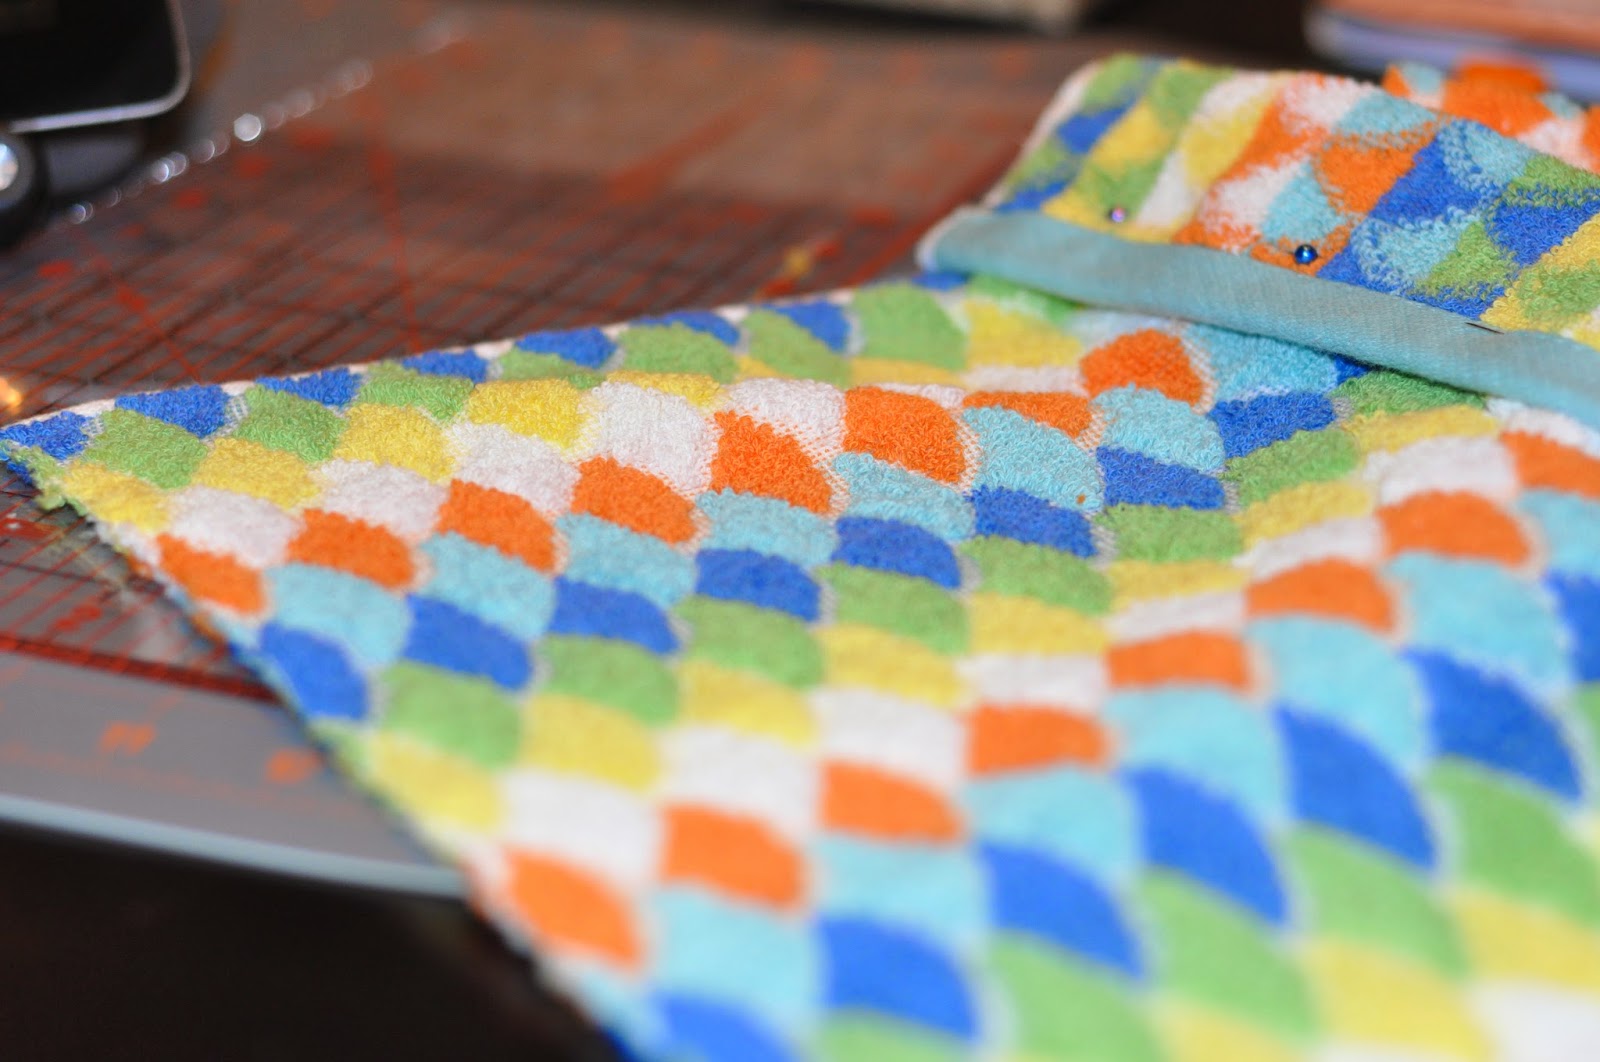
 I pinned each eventual seam and assembled the towel.  I didn't like how the hood matched up with the body of the towel, so I decided to fold over about 2 inches of the towel.  At least it was just pinned, or I would have spent quite a bit of time ripping seams.


fold for hood of hooded towel
Pins for the fold on the hood.


Next, I folded the 'right' side of the towel in and on itself and stitched the rough edges.  I used a zig zag stitch on the hood fold, but decided on a regular stitch here.
 
seam on fold of hood

 Hood was done and it was time to attach it!  Too keep everything even, I started by folding the towel in half and placing a pin at the midpoint.  I attached the hood and pinned the middle, then both edges then added some pins in the middle

attaching hood to body of hooded towel.
Pinning the Hood
The only challenge I had was the few area with the towel had quite a few layers.  My sewing machine is pretty basic and managed it fine, but I did have to slow down and help it along a little bit.


 And that's it!  The whole project including figuring out the extra hem took two episodes of Downton Abbey (I did pause twice when attaching the hoods.)  If you can thread a machine, you can do this project.  Super simple.


I tried and tried to get a picture of the boys in their towels, but it was just too hard to get a picture a decent picture of two naked, wet, slippery boys!  But take my word fot it, they were adorable!


Tuesday, March 31, 2015

DIY Felt board

The first time I took my son to a preschool group with a feltboard, I knew I had to have one.

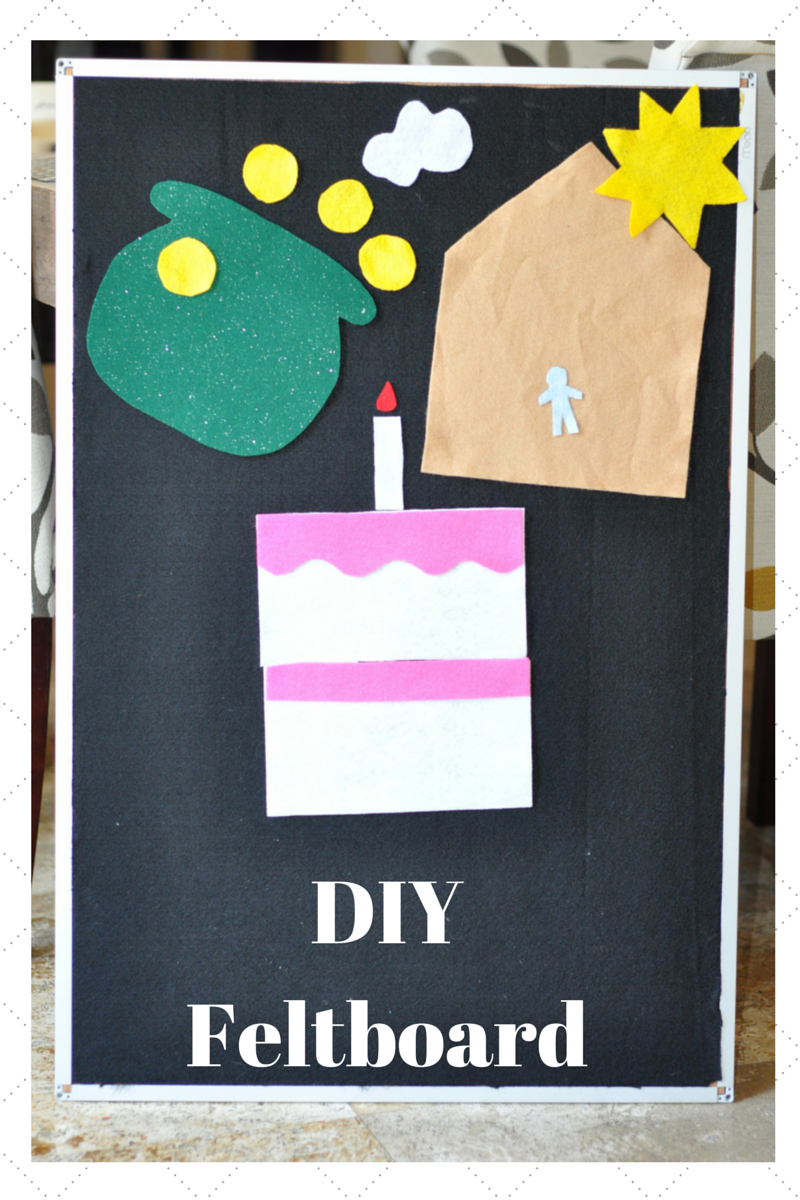
Make your own feltboard!

I immediately ran into two problems:

They were hard to find.
They were super expensive.

I wanted a large felt board (24" x 36") that was as big as the white board we use in the play room.  After unsucessefully looking for one several times, I decided to make it myself.

I'd previously purchased a cork board for a project that failed, but it turned out to be perfect for this project.
Universal 43613 Bulletin Board, Natural Cork, 36 x 24, Satin-Finished Aluminum Frame

First, because it was the right size for the space I wanted.  I also chose the aluminum frame because I wanted it to be similiar to my white board, but that turned out to be really helpful tucking in the felt and I'd recommend avoiding wood for this reason (although I haven't tried it with a wood frame.)

Next, I purchashed felt.  I decided to go with black for two reasons.  First, my white board is white, so I liked the contrast.  But secondly, I was worried about the cork board showing through or little people deciding to color the white felt with the white board markers.... better to go with black!
Springs Creative Products Group 2-Yard Cut Felt Fabric, 36-Inch Wide, Solid Black

The final product was glue.  I didn't actually purchase glue.  We have a ridiculous amount of glue at home.  I think you could use pretty much any type of glue you wanted.  I used  Weldwood because it seemed serious.
Dap 00107 3-Ounce Weldwood Contact Cement

There are a few things I would do a little bit differently next time, but overall I am really happy with my results.

1. Cut the Felt.

This is the step I would do a little bit differently.  Cut the felt a little bit bigger than your inside border (maybe 1/4").

2.  Glue the felt to the board.
Felt board

I'm not sure how much glue you really need.  I went a little overboard, but I can say my felt is firmly adhered to the board!

3.  Clean up the edige.  I originally intended to use the razer blade to trim the edge.  What I found, however, was that I could use the back of the blade to push the fabric under the board (the cork board gives to allow the fabric to push under the edge) giving me a much cleaner and more professional edge.  I still needed to trim a little bit of extra fabric.
Felt board corner
The top edge was glued, on the side, I started trying to push it under the border.

4. Play!

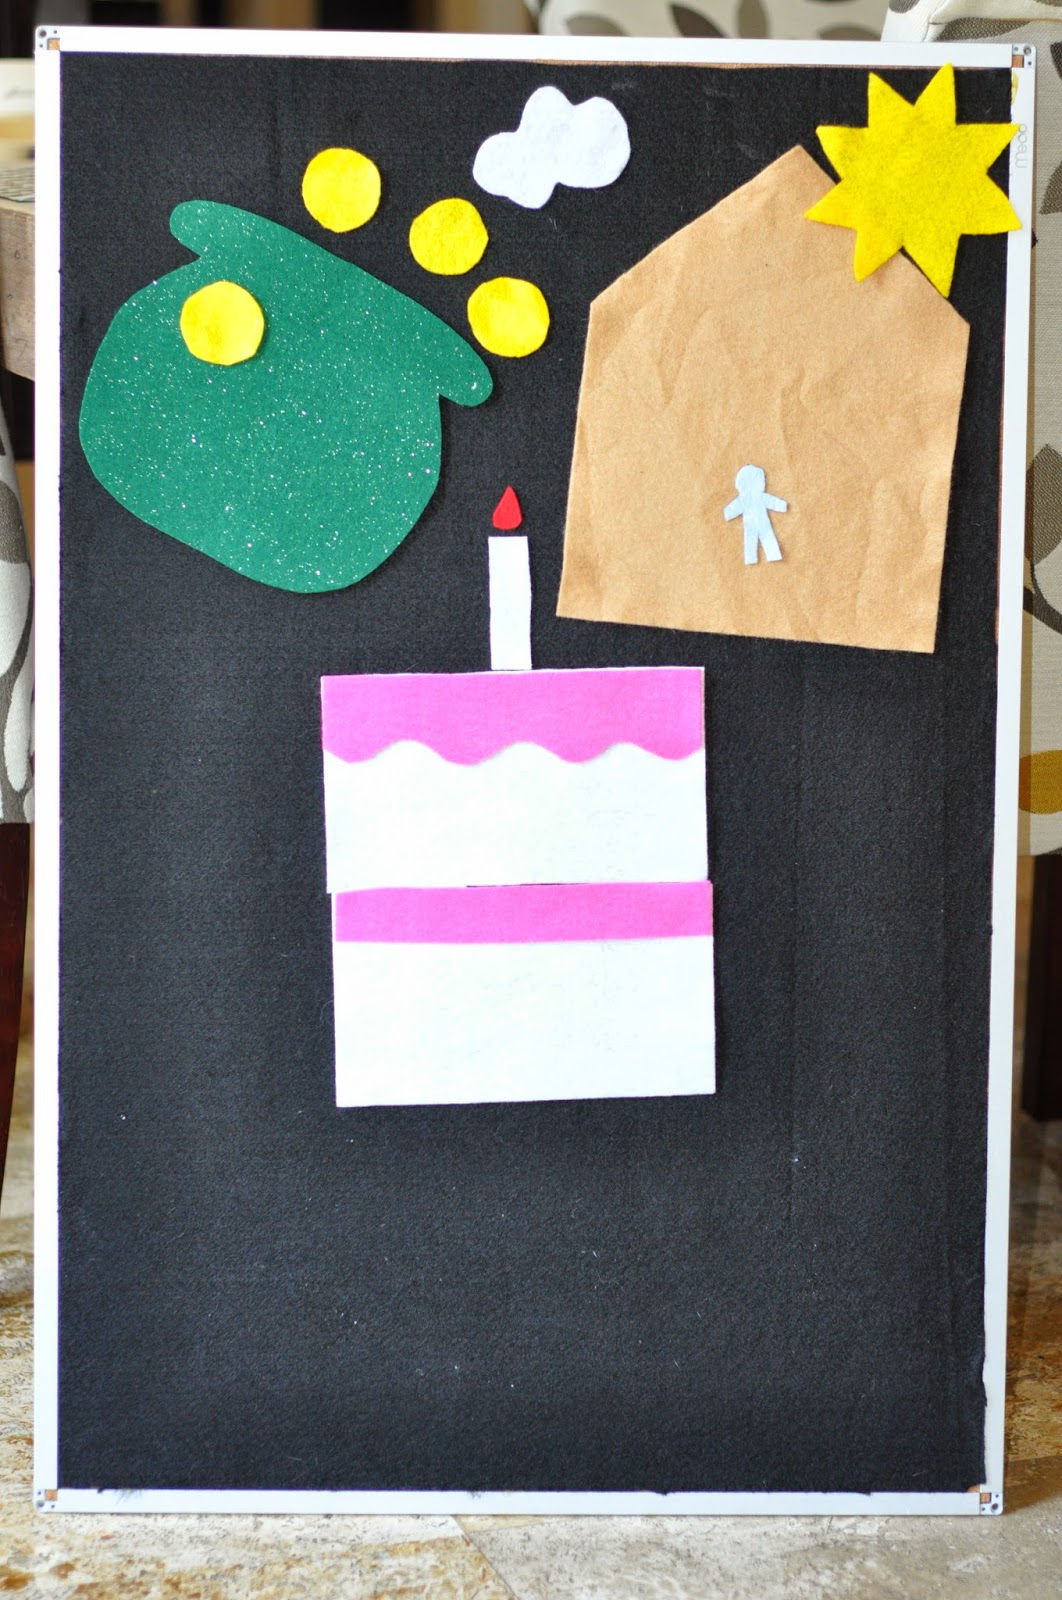
Felt board with play pieces

I love the felt board because I can make elements for whatever we are interested in at the moment.  I was pretty proud of my birthday cake, and I'm sure it will reappear a few times each year.

For Saint Patrick's day I made a pot of gold and coins while we worked on counting. I made weather and sky elements.  I am sure I'll share more adventures with our felt

The possibilities really are endless.  I can't wait to use this with our preschool group next year!